
How to Hang Multi Panel Wall Art: Quick & Easy Tips
Key Takeaways
- Plan first: center at eye level, size art to 60–70 percent of wall or furniture width, and test spacing on the floor;
- Space panels evenly: 1–2 inches for small panels, 2 inches for most sets, up to 3 inches for large statement pieces;
- Start from the center, then mirror out, and use a level with painter’s tape to mark a clean grid;
- Using Mixtiles? Skip nails. Our adhesive or magnetic mounting makes multi-panel layouts fast, damage free, and adjustable.
Learning how to hang multi panel wall art does not have to be a weekend project. With a few pro tips, the right height, even spacing, and a center first method, you will get a clean, gallery worthy display in minutes. Whether you want to hang a triptych, a 4 to 6 piece wall grid, or a large split canvas over your sofa, this guide shows the best way to plan and hang canvas art. With Mixtiles, you can stick, level, and restick without wall damage.
Start your multi panel layout in the Mixtiles app. Choose your photos, pick frame styles, and preview your perfect photo gallery wall before you order.
What size and height should your multi-panel set be?
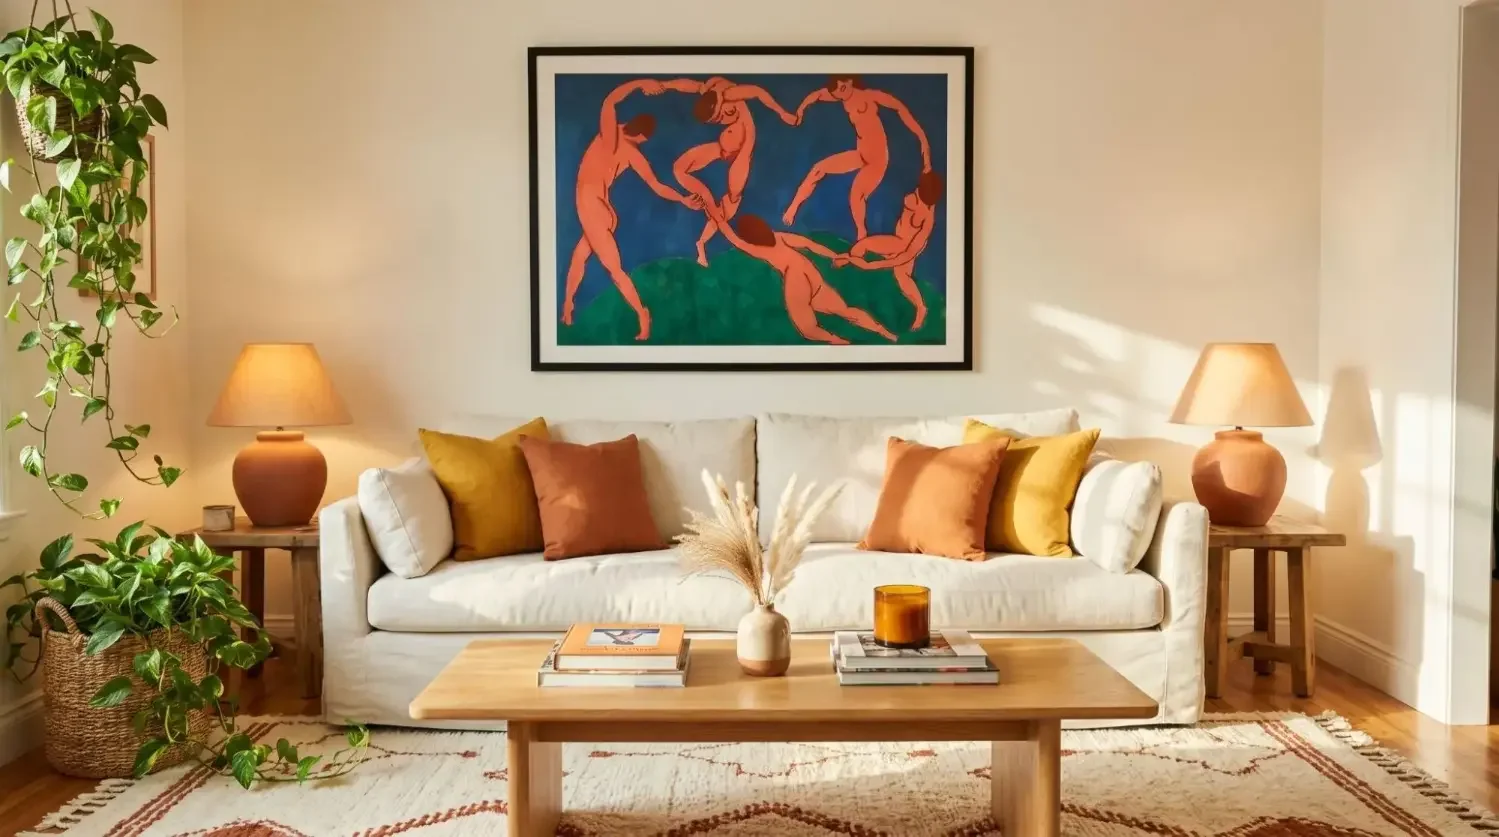
Choose a width that fits your furniture or wall decor, then hang so the center lands at eye level. This simple rule helps any art piece look balanced in a living room or dining room.
Sizing that looks “just right”
Aim for artwork that is 60 to 70 percent of the wall or furniture width. Over an 84 inch sofa, a 50 to 60 inch wide multi panel wall looks polished. For a large wall, scale up with more panels or larger canvas prints so the display feels intentional. Not sure which panel sizes to choose? See our canvas size chart for popular dimensions and room by room picks.
How high to hang multi panel wall art
Center at 57 to 60 inches from the floor, the classic gallery height. Above furniture, make sure there is 6 to 8 inches between the top of the piece and the furniture so your panel wall art will breathe and still feel connected. For room specific planning, explore our guide to canvas sizes for walls.
How do you plan the layout before you hang anything?
Lay your panels on the floor to test order and spacing; snap a photo so you can see balance from a distance. Tape the total footprint on the wall, mark the centerline, and lightly pencil where each piece will sit. If you are using Mixtiles Gallery Wall Kits, our in app preview shows exact size and spacing so you can get the design right before you start hanging.
What is the best spacing between panels?
Keep gaps identical across the set. Most homes look great with 2 inches, but you can tighten or widen based on the size of each panel.
|
Panel Size |
Typical Gap |
Over Furniture Height |
|---|---|---|
|
Small, 8 in or less |
1 to 1.5 in |
6 to 8 in above furniture |
|
Standard, 12 to 16 in |
About 2 in |
6 to 8 in above furniture |
|
Large, 20 in or more |
2 to 3 in |
6 to 8 in above furniture |
General rules
Small tiles or panels look best with 1 to 1.5 inch gaps; most split canvas prints prefer a clean 2 inch gap; oversized 20x20 canvas prints can stretch to 3 inches for breathing room.
By configuration

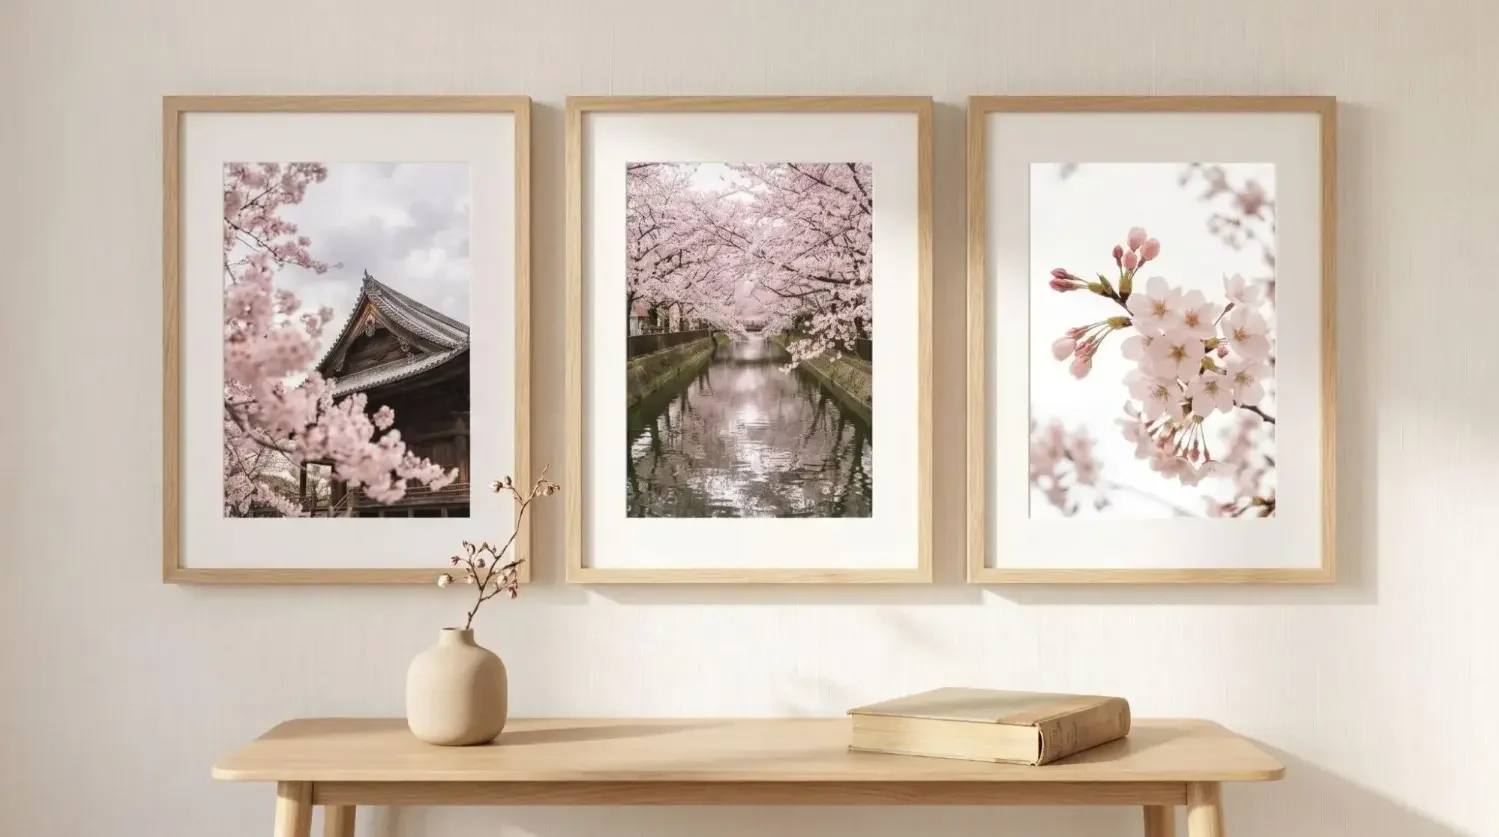
Triptych panels: keep both gaps identical so the split canvas reads as one artwork. For creative arrangements, browse these split canvas print ideas.

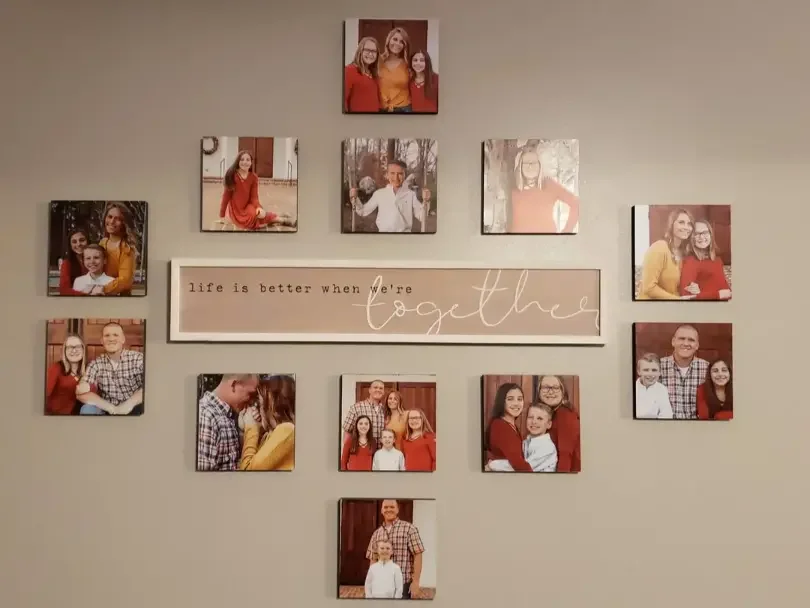
Four or six piece grids: match vertical and horizontal gaps exactly.

Over a sofa or bed: lean to 2 inches so the entire wall gallery reads as one cohesive piece.
How do you hang multi panel wall art step by step?
Start from the middle panel, then mirror outward. Always use a level, or the level in your phone, to keep lines straight.
If you are using Mixtiles, no nails or tools
Follow these quick steps to hang canvas style tiles with adhesive or magnets:
- Mark the wall center and eye level, then place a light tape centerline;
- Start with the middle tile, peel or place the wall magnet, then press each corner firmly for 30 seconds;
- Use a level to check alignment, and gently lift to reposition if needed, our adhesive is adjustable;
- Mirror out from the center using a 2 inch cardboard spacer so every gap matches.
If you are using traditional frames or canvas
For wood framed prints or paintings, anchors may be required on drywall. If you need a refresher on single piece mounting, see our tutorial on how to hang canvas art on a wall.
- Measure and mark the center, then lightly mark each panel location in pencil;
- Install hooks or anchors appropriate for drywall, brick, or concrete, start with the center panel;
- Hang the center, use a level, then add side panels with identical spacing, adjust until the lines are true.
Design, stick, and adjust. Build a beautiful gallery in minutes with our damage-free photo tiles. Open the app to preview your wall now.
How do you keep everything straight and symmetrical?
Create a simple tape grid for rows and columns, then use a level for every piece. Step back after each panel to see balance from across the room. Keep gaps consistent with a physical spacer rather than eyeballing. On textured walls, press firmly so adhesive bonds well. These small checks will make your multi panel wall look like a pro installed it.
Renting or like to switch things up often?
Mixtiles are lightweight and designed for clean removal, so you can refresh your home decor without patching or repainting. Swap a single piece, update a world travel print, add a wall sign, or re space a large wall gallery whenever inspiration strikes.
Mastering how to hang multi panel wall art comes down to smart planning, even spacing, and a center out approach. Keep the center at 57 to 60 inches, aim for 2 inch gaps for most sets, and use a level with a simple tape grid to keep everything true. With Mixtiles, you can hang canvas, restick, and refine the design until it is perfect.
Ready to create your multi panel wall? Turn your favorite photos to canvas and stick them up in minutes, damage free.
Frequently Asked Questions
How do you hang a 3 panel wall art set evenly?
Mark eye level at 57 to 60 inches and a centerline. Hang the middle panel first. Mirror outward with equal gaps, about 2 inches for most sets. Use a level and a spacer for consistency. With Mixtiles, stick, check, and reposition until edges align perfectly.
What is the best way to display multiple pieces on one wall?
Create a clean grid or straight row sized to the wall or furniture, about 60 to 70 percent of the width. Map the footprint with painter’s tape. Keep vertical and horizontal gaps identical, 1 to 3 inches. Level each piece. Mixtiles let you test layouts without holes.
What is the 2/3 rule for hanging art above furniture?
The 2/3 rule means your art spans roughly two thirds of the furniture beneath it, which looks balanced. Over an 84 inch sofa, aim near 56 inches total width. Leave 6 to 8 inches between the top of the art and the furniture for a connected, polished look.
What is the 2/3 rule in art, and how does it differ from the rule of thirds?
The 2/3 rule is a sizing guideline, choose artwork or groupings about two thirds the width of nearby furniture or wall sections. It differs from the rule of thirds, a composition guide within an image. Use 2/3 for sizing, use thirds for subject placement inside photos.
Be the first to know — deals, news & decor ideas.
By clicking you agree to the Terms of Use & Privacy Policy