
How to Design a Photo Book: Create Lasting Memories
Key Takeaways
- Nail your story first, define a theme, curate only your strongest images, and plan a beginning, middle, and end sequence;
- Design like a pro, use grids, consistent margins, white space, and restrained typography so every page looks clean and cohesive;
- Prep for print, size, color profile, bleed, and resolution matter, export a print-ready PDF and review a physical proof before the final run;
- Showcase beyond the book, turn favorite photos into Mixtiles to build a wall gallery that complements your new photo book.
Designing a photo book is more than dropping pictures into a template, it is about crafting a visual story people will want to revisit. Whether you are celebrating a wedding, a year in review, or a travel adventure, this guide walks you through how to design a photo book from concept to print. You will learn how to curate photos, structure layouts, choose fonts and paper, and avoid common print pitfalls. Plus, we will show you how Mixtiles can bring your favorite moments to your walls in minutes.
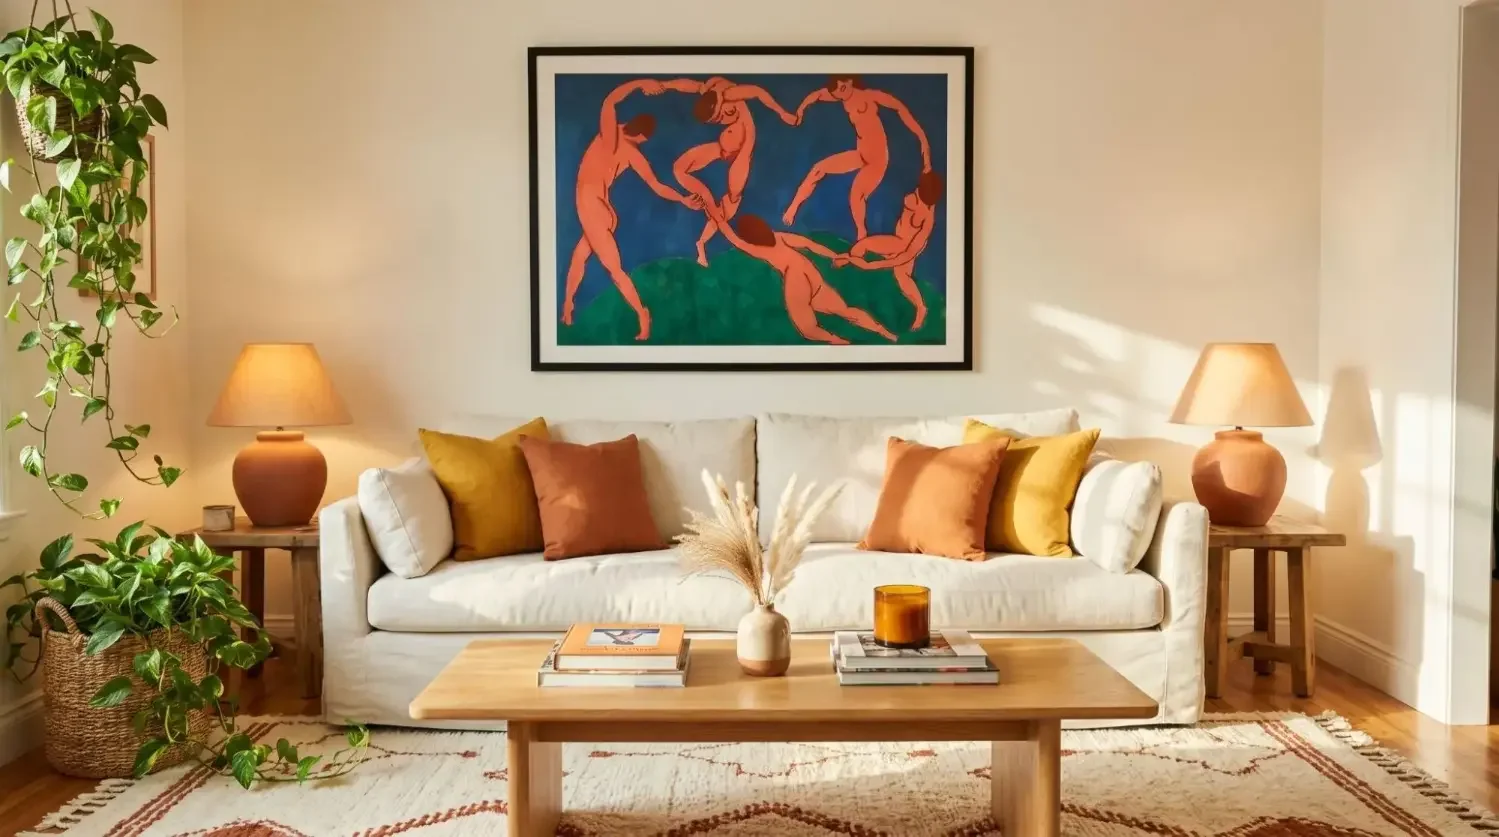
Bring your best photos to your walls while your book is in progress. Create a custom wall gallery with Mixtiles. Our repositionable photo tiles hang in minutes with no nails or damage. Start in the free Mixtiles app or on our website.

Why make a photo book in the first place?
A photo book creates a lasting story you can hold, share with friends, and place on the coffee table. Unlike a photo album with loose prints, a designed book lets you select images, set layouts, and print pages that feel like professional art. It is a special gift for birthdays, Mother’s Day, weddings, and travel memories, and it is a great way to tell your story well.
Photo book vs. photo album: what is the difference?
Traditional photo albums are binders or books with sleeves. You print photos first, then slide them in. Photo books are created digitally, then printed as a finished book. You choose layouts, add a cover, and set typography so the design and narrative come together. Many people still love albums, but photo books make a book that feels cohesive from the first page to the last page.
Occasions worth documenting: weddings, travel, baby, yearbooks, portfolios
Wedding photo books make a beautiful keepsake, and you can echo your wedding invitations on the cover to keep the style consistent. Family year-in-review books are perfect for the new year. Travel books help you relive landscapes and city life. Baby books, birthday projects, and small business portfolios also work well, from portrait photography to product images. The good thing is you can make different books over the years and build a collection. Before you start culling, see our guide on how to choose photos for a wedding album and get step-by-step tips on how to make a travel photo book.
How do you define your theme and curate photos that flow?
Start by picking a clear theme. Then select images that support it. Think like a designer, set an opening image that hooks people, then build a sequence with a strong middle and a finale. Keep it simple so your narrative reads like a story, not a random album.
If you are brainstorming formats and prompts, explore these creative photo book ideas.
Build a narrative arc: opening, development, finale
Open with one striking photo that sets tone and place. Develop with 10 to 20 images that move the story forward, for example travel day one to day three, or morning to evening at a wedding. End with a full spread or a quiet portrait that feels like a final note. This arc helps people see, feel, and remember.
Quality standards that print well: resolution, sharpness, consistency
Use images that are at least 300 ppi at print size so details print well. Consistent editing across pictures makes pages look better. Fix obvious distractions, address white balance, and avoid mixing different color spaces in one file. If a good photo is just a little soft, place it smaller on the page so it still looks sharp.
Cohesion tips: color palettes, lighting, mood, subject continuity
Sequence by color and tone. Group warm sunset images together or flow from cool blues to neutral tones. Keep subjects connected. For example, move from wide landscape to medium scene to close portrait so the viewer learns, then leans in. If you are mixing events, use divider pages to signal a new chapter.
What size, orientation, binding, and paper should you choose?
Choose size and orientation based on your images and where the book will live. Landscape sizes flatter wide travel shots. Square sizes are versatile and look great on a coffee table. Hardcover feels premium. Matte paper reduces glare and looks refined, while gloss adds punch to colors and black tones. For inspiration on sequencing, covers, and display, browse our coffee table books guide.
Common sizes and when to use them, square, portrait, landscape
Here are popular book sizes with metric conversions and best uses, so you can pick confidently and make a book that fits your photos and your home.
|
Advertised Size |
Metric Size |
Orientation |
Best For |
|---|---|---|---|
|
8 × 8 in |
20.3 × 20.3 cm |
Square |
Instagram-friendly grids, baby books, gifts for friends, coffee table minis |
|
10 × 10 in |
25.4 × 25.4 cm |
Square |
Family yearbooks, birthday highlights, everyday life projects |
|
11 × 8.5 in |
27.9 × 21.6 cm |
Landscape |
Travel photography, landscapes, outdoor adventures |
|
8.5 × 11 in |
21.6 × 27.9 cm |
Portrait |
Family stories, school yearbooks, small business lookbooks |
|
12 × 12 in |
30.5 × 30.5 cm |
Square |
Wedding photo books, milestone albums, premium coffee table books |
|
13 × 10 in |
33 × 25.4 cm |
Landscape |
Professional portfolios, panoramic images, full-bleed spreads |
Binding options: softcover, hardcover; layflat vs. standard
Hardcover lasts longer and looks elegant on the shelf. Softcover is light and budget friendly. Layflat binding spreads pages so a photo can run across the gutter with little distortion, great for landscapes. Standard binding is slimmer and often more affordable. Think about how often the book will be opened and where it will sit at home.
Paper finishes and color considerations: matte vs. gloss; sRGB vs. CMYK
Matte paper reduces fingerprints and glare, and it has a refined art book look. Gloss increases contrast and color depth, ideal for saturated images. If you are exporting for a pro printer, soft proof in CMYK or use the printer’s ICC profile. If you are using a consumer service, sRGB usually works best. Keep one color space across images so everything prints consistently.
Quick spec checklist
Before you upload or export, make sure these specs are in place so your pages print cleanly:
- Page count in multiples of four;
- 300 ppi images at final print size;
- Bleed set to your printer’s requirement, often 3 to 5 mm;
- Safe margins for text and captions, keep critical content away from trim;
- Export to the printer’s preferred PDF standard with embedded fonts and images.
Which tools are best for designing a photo book?
The best tool is the one you will actually use. If you want an easy start, choose a guided editor. If you need full control, use pro design software. Mixtiles Photo Books make creating simple and fast with a one-photo-per-page layout and clean covers.
Beginner-friendly platforms: templated editors and online tools
Online editors are great when you want to make a photo book quickly. You can upload images, pick a theme, and customize pages. Mixtiles lets you select, crop, and reorder photos easily, and you can edit the cover title text. The app is free to open, and you can start now from your phone or desktop.
Pro workflows: Lightroom, InDesign, and when to use them
Use Lightroom to select, rate, and tone images so the set feels unified. Use InDesign for grid systems, master pages, and precision typography. This approach is ideal for wedding photographers, designers, and portfolios where fine control over layout is important. You can export a print-ready PDF and send it to your chosen printer or shop service.
Collaboration and cloud backups to safeguard your work
Back up your project to the cloud so you do not lose hard work. Share a low-res PDF with family or a client for quick review. If you work across devices, keep a single source of truth so changes do not conflict.
How do you plan page layouts that look professional?
Great layouts keep attention on the image and the story. Use a simple grid, keep margins consistent, and let white space breathe. Mix full spreads with smaller images to create rhythm, and repeat a few layout types to make the book feel intentional.
Grids and baselines for alignment and consistency
Set a column grid and baseline grid so elements align. Even simple two-column guides will make images and any text look balanced. Consistency makes every page feel like part of one system.
Margins, gutters, trim, and bleed: what they mean and why they matter
The trim line marks where the page is cut. Bleed extends background or images beyond trim to prevent white edges. The gutter is the fold area, so keep faces and small text out of it. Generous margins protect content and add calm.
Visual rhythm: mix full-bleed spreads with smaller frames to add pace
Alternate a dramatic full-bleed spread with a quiet page that holds a single, smaller image. This push and pull keeps people turning pages. It is an easy way to make every section look considered.
White space as a design element, and how to avoid clutter
White space is not wasted space. It gives the eye a place to rest and makes images feel more special. When layouts feel busy, remove one element, then review.
Master pages for recurring elements, page numbers, headers
Set page numbers and any repeating elements once, then apply them across the book. This keeps details consistent and saves time.
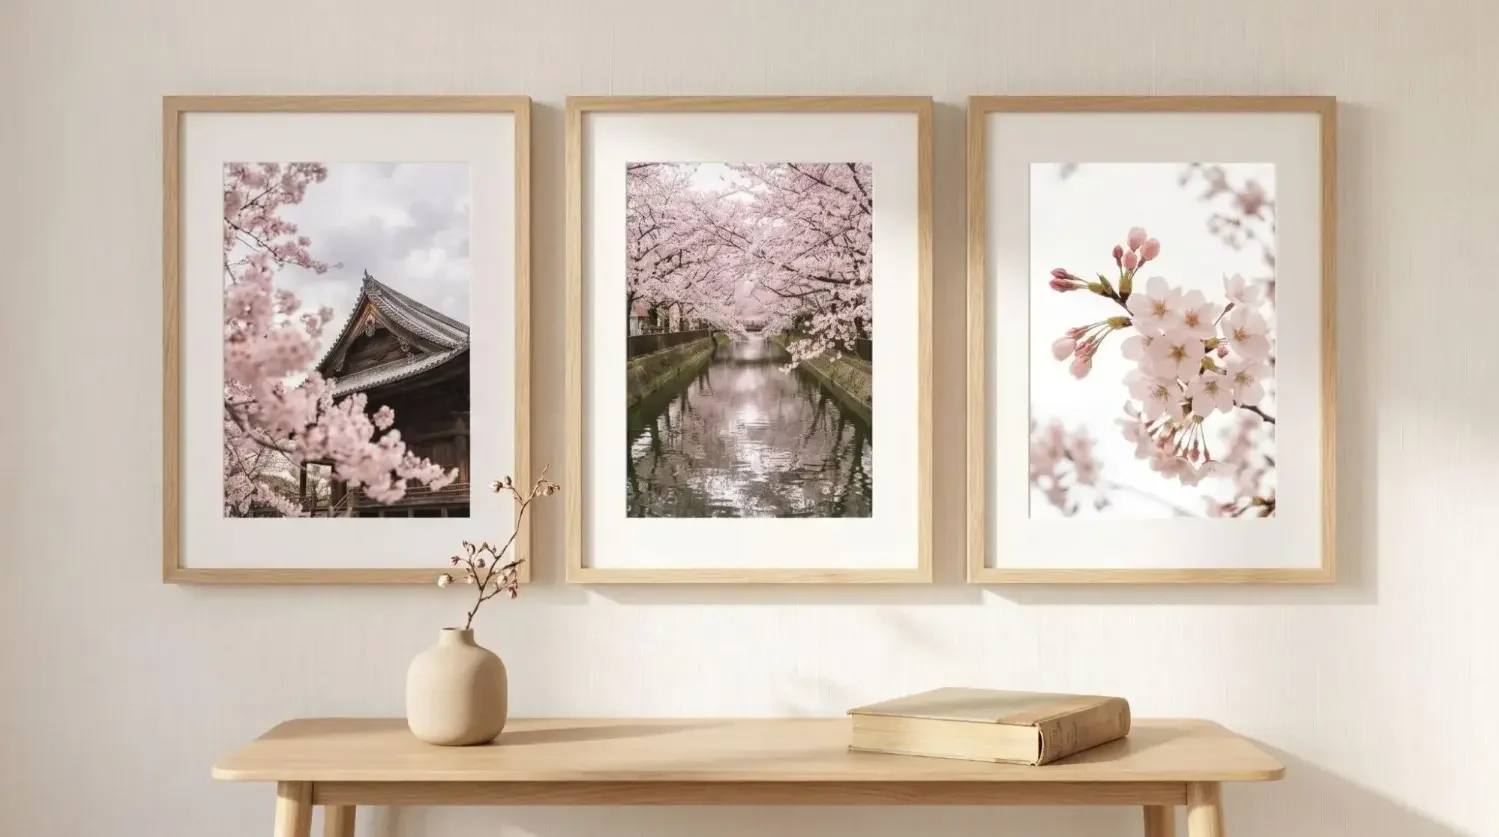
Preview your best spreads on your wall before you print. Turn a few standout shots into beautiful canvas prints and arrange them into a test gallery. Our lightweight canvas makes it easy to test storytelling sequences in real life, so you can finalize the book with confidence.
How should you handle typography, captions, and cover design?
Keep type simple so photos lead. Use two typefaces at most, build a clear hierarchy, and size captions for quick scanning. Design a cover that signals theme and style from the first glance.
Font pairing rules of thumb: two fonts max, clear hierarchy
Pair a clean sans serif with a readable serif, or use one family with varied weights. Set a clear title size, then consistent smaller sizes for any captions. Good spacing and alignment make type look professional even with little text.
Caption best practices: short, scannable, supportive of images
Keep captions short, stick to names, places, and little details that add meaning. In Mixtiles Photo Books, per-page captions are not supported yet. You can add a descriptive title on the cover or include a short introduction page at the start. This still lets you tell a story without crowding pages.
Designing the cover, spine, and back cover to set expectations
Choose a single hero image and a short title. Align the spine text cleanly so it is easy to find on the shelf. Coordinate colors with your wedding invitations or event palette. A simple back cover keeps the look refined.
How do you sequence pages and chapters for maximum impact?
Think like a film editor. Group images into scenes, then order scenes into chapters. Use consistent transitions so the viewer always knows where they are going next.
Opening with a hook and ending with a finale
Start with the most compelling image. It can be a full portrait or a sweeping landscape. Close with a powerful full page, then a subtle last page to give the story a gentle landing.
Chapter dividers, intro spreads, and pacing across sections
Use simple divider pages to mark new themes, for example getting ready, ceremony, reception in a wedding photo book. Vary page density. A rich collage moment can follow a calm single image so energy rises and falls in a satisfying way.
Using color and tonal transitions to guide viewers
Move from high key to low key images, or by time of day. Keep lighting consistent within a run of pages. People will feel the flow even if they cannot name it.
How do you prep files for print without surprises?
Check technicals before you order. Match size, color space, and bleed to your printer’s specs. Order a proof so you can catch small issues before the final print.
Export settings, PDF standards, embedded fonts, image compression
For pro workflows, export as PDF/X-1a or your printer’s requested format. Embed fonts so text renders correctly. Set images to 300 ppi at size, and choose a compression setting that preserves quality without ballooning file size.
Color management and soft proofing
Keep editing in sRGB unless your printer requests CMYK. Use soft proofing to preview how colors will shift on paper. Reduce saturation or lift shadows where needed so prints look like the calibrated screen version.
Ordering a physical proof and marking corrections
Order one test copy. Review it in daylight and under warm home light. Note any issues with crop, margins, or text size. Make changes, then place the final order. If you are using Mixtiles Photo Books, you can reorder easily once you lock your favorite version.
What mistakes do beginners make, and how do you avoid them?
Most issues come from rushing. Slow down a little. Keep margins clean, use consistent edits, and do a final review before you print.
Common pitfalls
Watch for these common errors so your images print well and every page looks polished:
- Overcrowded pages and inconsistent margins that make layouts feel busy;
- Low-resolution images and mixed color spaces that reduce print quality;
- Text too close to trim and captions too small to read comfortably;
- Inconsistent toning or styles across images that break narrative cohesion.
A pre-print checklist to catch errors fast
Zoom to 100 percent and scan each spread for sharpness and dust spots. Confirm crop on important faces so nothing falls into the gutter. Compare three random images across the book to confirm consistent white balance and contrast. Finally, set the book down, take a short break, then review again with fresh eyes. You will find little things now that you might miss later.
How long will it take and what should you budget?
Timelines vary by project size and your tools. A simple one-photo-per-page book can be created in an evening. A professional portfolio with custom layouts can take a week of part-time work, including review and proofing.
A realistic timeline: curation, design, proofing, printing
Plan one to two hours for image selection and basic editing. Design can take one to three evenings depending on page count and how many layouts you build. Proofing and revisions usually take one more session. Printing and shipping vary by service. You can check delivery dates at checkout so you know when the gift will arrive.
Cost drivers: size, page count, paper, binding, shipping, and ways to save
Costs rise with larger sizes, hardcover binding, premium papers, and higher page counts. To save, pick a slightly smaller size, keep page count tight, and choose standard paper. Ordering multiple copies for family can reduce the price per book. If you want wall impact for less, consider pairing one beautiful book with a set of Mixtiles or a Wall Sign for your gallery.

Do you need a digital version too?
A digital copy is useful for sharing and archiving. It is easy to send a private link to friends, and it protects your hard work if a book gets lost or damaged.
Exporting for screen, web PDFs, private galleries
Create a lighter PDF for screen and a private gallery for quick viewing. Add a simple watermark if you share a professional project. Keep the file in cloud storage so it is always available.
Archiving masters and project files for the long term
Save high-res images and the design file in one folder. Back up to two locations. Future you will thank present you when you want to update the book or create another edition next year.
The best photo books tell a clear story with intentional curation, clean layouts, and thoughtful typography, then deliver flawless print quality. By planning your theme, using grids and white space, and proofing before you finalize, you will create a keepsake that stands the test of time. If you want to enjoy your favorite images every day, bring them to your walls with Mixtiles. It is fast, fun, and completely renter friendly, and it pairs beautifully with your new book.
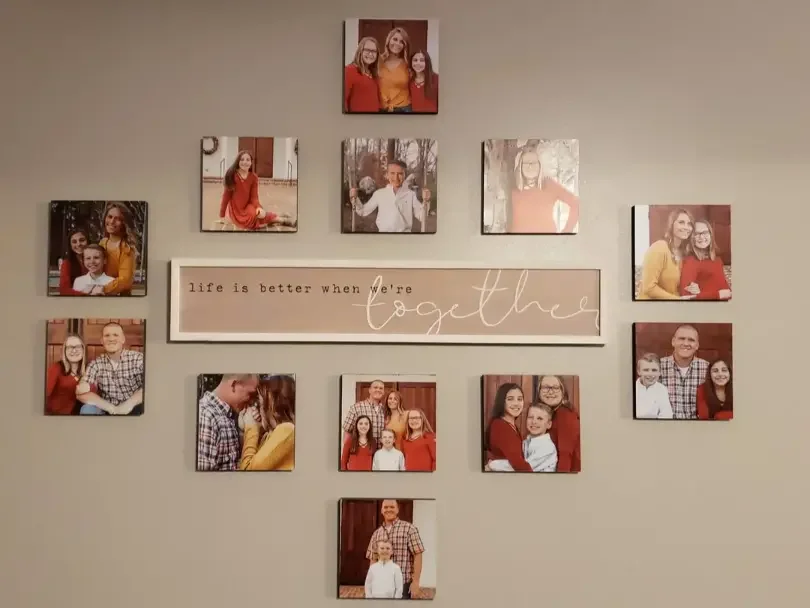
Turn your favorite photo book images into a gallery you will see and smile at daily. Create Mixtiles in minutes, lightweight, adhesive, and repositionable photo frames delivered to your door. Open the Mixtiles app or visit our website to start, then add other wall arts to complete the look.

Frequently Asked Questions
How do I design a photo book that looks professional?
Start with a clear theme, curate only your best images, and map a beginning, middle, and end. Use simple grids, consistent margins, and generous white space. Keep type minimal and aligned. Export at print size with 300 ppi images and proper bleed, then proof.
What layout mistakes should I avoid in a photo book?
Overcrowding spreads, inconsistent margins, and placing faces in the gutter. Low resolution images or mixed color spaces that degrade print quality. Captions too small to read. Inconsistent edits across pages. Skip clutter, give images room, and keep alignment and color consistent.
Which platform should I use to create my photo book?
Pick a tool that matches your workflow. Templated editors are fastest for clean results. For full control, use Lightroom for curation and InDesign for layout. If you want a minimal, one photo per page book you can make on your phone, try Mixtiles Photo Books.
Be the first to know — deals, news & decor ideas.
By clicking you agree to the Terms of Use & Privacy Policy