
Wall Niche Decor: Renter-Friendly Styling Ideas
- Decide first: Will your wall niche decor be a focal point or blend in? Your approach drives color, lighting, and styling choices;
- Scale matters. Match decor to niche size and shape, add depth with paint, wallpaper, or lighting, and keep a cohesive palette;
- Follow a simple plan: measure, choose a style, layer heights and textures, light the niche, then edit to avoid clutter;
- For damage-free flexibility, use lightweight, adhesive photo tiles like Mixtiles to create instant gallery-style wall niche décor.
Wall niche decor can turn an awkward alcove into your home’s favorite moment. Whether you have an arched wall niche, a shallow recess, or a deep nook, the key is choosing a direction: embrace it as a focal point or help it blend seamlessly. In this guide, you will find decor ideas, room-by-room inspiration, renter-friendly hacks, and a simple layout plan for photos, art, and objects. You will also see how Mixtiles makes gallery walls fast, damage-free, and endlessly flexible.
Turn your wall niche into a stunning photo gallery wall in minutes. Print your favorite photos as lightweight, adhesive tiles. No nails, no damage, and you can reposition them anytime.
What is a wall niche decor, and is it outdated?
Wall niche decor is how you style recessed spaces in your walls, from small arches to large rectangular insets. And it is not outdated! When you treat the backing, curate fewer but larger pieces, and add warm lighting, wall niches feel like custom interior design. If a niche looks dated, refresh with a subtle paint shift, a peel-and-stick wallpaper, or a simple LED puck to add depth and glow.
Should you embrace your niche or help it blend in?
Both options work. If you embrace the niche, create contrast on the back wall and anchor it with a confident piece like a photo-tile grid or sculptural vase. If you prefer it to blend, match wall color, simplify trim, and choose low-profile decor so the niche reads as part of the wall.
What can you put in a wall niche decor-wise?
Decorative ideas: Try a clean grid of Mixtiles for instant wall arts, a single oversized picture or framed print, a tall branch-filled vase, or a black and white photo series for graphic impact. A mirrored back panel can amplify light and make small niches feel larger.
Functional ideas: Add a slim shelf for books, a compact coffee bar in a deep niche near the kitchen, an entry catch-all with a tray and hooks, or even a petite pet nook under stairs. In a dining room, a low shelf with wood serving boards feels warm and useful.
How do you style wall niche decor by size and shape?
Let scale guide you. Small or shallow niches shine with one special object or a tight column of tiles. Large or deep niches benefit from layering and sometimes a mid-height shelf to manage the vertical space. Arched niches love curved objects. When you have multiples, keep a consistent theme and frame style for cohesion.
Small or shallow niches

Choose one strong decorative element or a vertical stack of two to three Mixtiles. A soft contrast paint and a discreet puck light can create depth without clutter.
Large or deep niches

Layer art and objects. Consider splitting the height with a shelf at a one-third ratio so heavier items sit lower and wall art sits higher. A grid or salon-style Mixtiles layout across the back wall creates a polished gallery wall effect.
Arched or curved niches

Echo the curve with rounded vases, an arched mirror, or soft-edged ceramics. Align photo tiles within the visual arch so the top row respects the curve.
High-on-the-wall niches

Focus on the backing, for example wood paneling, limewash, or wallpaper. Keep decor large and simple, then add an LED strip or small sconce for nighttime accent.
Which finishes elevate wall niche decor?
Finishes change everything:
- Paint: use matte or eggshell to avoid glare on photos. Tonal contrast looks modern and works across living room and bedroom walls.
- Wallpaper or paneling: grasscloth textures or beadboard add interior character instantly. These are great DIY options if you are renting.
- Tile or stone: consider stacked stone or slim tile in bigger niches, especially near kitchen cabinets or a fireplace accent wall.
- Lighting: try puck lights, micro-spotlights, or an LED strip tucked at the top edge. Aim for warm light so skin tones and black and white art look great.
Create a damage-free niche gallery with our versatile products. For a classic, textured look, try our custom canvas prints. They are lightweight, adhesive, and repositionable, perfect for renters. Design your layout in our app and check out in minutes.
How do you make a renter-friendly gallery in a niche without drilling?
Use Mixtiles. Each tile sticks and re-sticks cleanly, so you can test layouts until you love them. Map spacing with painter’s tape first, then place tiles at eye level. Mix white and black frames if you want soft contrast, or keep frames uniform for a calm interior look.
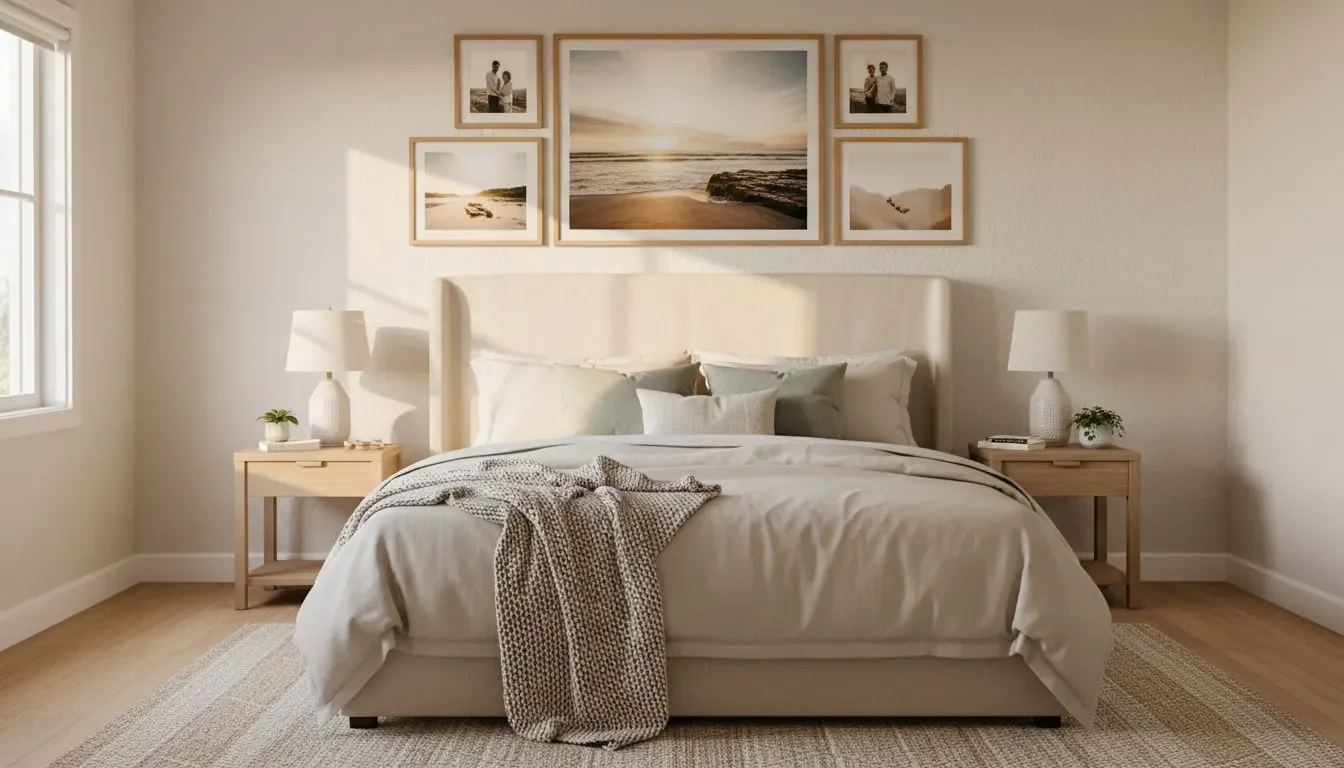
Alt text: Three framed beach family photos above a wood console
Safety and care. Mixtiles are lightweight and designed for painted drywall and many textured walls. Press firmly for a few seconds on rough surfaces. Avoid high-splash zones near the sink. Clean tiles with a dry, soft cloth.
How do you plan a photo-tile layout for your wall niche?
Start with measurements and a clear story. Pick a layout that fits the niche shape, then keep spacing consistent from top to bottom for a crisp design.
Step-by-step planning
- Measure the niche width, height, and depth, and note where an arch begins;
- Choose your Mixtiles style (framed, frameless, or canvas prints) and keep frames consistent for cohesion;
- Pick a layout: grid for modern order, column for narrow spaces, or a staggered trio for a casual look;
- Set spacing: about 1 to 2 inches for small niches, about 2 to 3 inches for larger niches;
- Curate a story: family moments, travel highlights, or a black and white set for timeless wall art.
Quick measurement checklist
|
What to measure |
Why it matters |
|---|---|
|
Niche width and height |
Determines how many tiles fit and the ideal layout proportions. |
|
Arch radius or start point |
Helps align the top row of tiles within the curve cleanly. |
|
Visual center height |
Keeps the gallery at comfortable eye level for your room. |
|
Nearby obstructions |
Avoids switches, vents, sconces, or cabinet doors. |
For more help dialing in proportions and spacing, check our guide to gallery wall dimensions and adapt the recommendations to your specific alcove.
What mistakes should you avoid with wall niche decor?
These easy pitfalls are common with wall niche ideas. A quick check before you mount tiles or shelves will save time and patchwork later.
- Over-cluttering the recess: leave negative space for breathing room;
- Ignoring scale: tiny items in large wall niches feel lost and unfinished;
- Skipping lighting: niches without light can look flat and shadowy;
- Mismatched palettes: stick to two or three colors and one or two materials;
- Heavy installs: favor reversible, renter-friendly solutions like Mixtiles.
If you plan a deeper DIY build with a wood shelf or furniture insert, measure stud locations, confirm weight limits, and keep electrical runs in mind.
Wall niche decor works best when you pick a clear direction, match scale to the niche, and add depth with a back treatment and warm light. From a simple paint update to a custom-looking gallery wall made with Mixtiles, even a small recessed nook can feel intentional and personal. Start with a few tiles, edit until you love it, and let your niche decor tell a story you will enjoy every day.
Ready to style your niche the easy, damage-free way? Turn your favorite photos into our signature photo tiles and build a beautiful display inside any niche. Download the Mixtiles app or shop on our site to get started today.
Frequently Asked Questions
How do you decorate a wall niche?
Start by deciding if the niche should stand out or blend in. Measure, then treat the back wall with tonal paint or peel-and-stick wallpaper. Scale decor to the opening and add warm lighting. For damage-free art, use adhesive photo tiles like Mixtiles to build a tidy grid or column.
Do wall niches add value to a home?
They can add perceived value by creating a built-in look, display space, and soft accent lighting. Actual appraisal impact varies by market. Well-finished niches photograph beautifully, attract buyers, and can add practical storage. Renter-friendly updates, like peel-and-stick finishes and Mixtiles, deliver impact without permanent renovation.
What should you put in a large wall niche?
Think big. Use an oversized artwork, an arched mirror, or a gallery grid of photo tiles like Mixtiles. Split the height with a slim shelf so heavier pieces sit lower, and lighter art sits higher. Keep a tight palette, then add warm LED lighting for depth.
What are modern wall niche decor trends?
Modern niche styling favors tonal paint shifts, fluted or slatted panels, and limewash textures. Micro LED strips or small puck lights add a soft glow. Fewer, larger pieces feel current, especially black and white photo grids. Frameless or slim-framed Mixtiles keep lines clean and updates easy.
Be the first to know — deals, news & decor ideas.
By clicking you agree to the Terms of Use & Privacy Policy