
Wood Wall Art Ideas: Elevate Your Space with Style
Key Takeaways
- Wood wall art ideas range from rustic reclaimed panels to sleek geometric mosaics ; mixing textures makes your gallery feel curated;
- Balance wood accents with lightweight photo tiles to add stories, color, and flexibility without damaging walls;
- Plan by style (rustic, modern, boho, coastal) and by space (entry, living room, nursery) to pick the right sizes and layouts;
- Mixtiles makes it renter-friendly: adhesive, removable frames let you test, rearrange, and refresh your wood-and-photo gallery in minutes.
Wood wall art ideas are having a moment. Think chevron mosaics, mountain silhouettes, and warm natural tones that instantly cozy up a room. Whether you love rustic reclaimed texture or modern geometric panels, the right wood wall art can anchor your decor. In this guide, you will find stylish concepts, layout tips, and renter-friendly hanging solutions. You will also learn how to blend wooden accents with personal photos using Mixtiles lightweight, adhesive frames for a textured, gallery-style look without nails.
Love the look already? Create your wall in minutes with Mixtiles. Upload photos on the app or website to design your picture tiles, choose your frame style, and stick them without tools.
What counts as “wood wall art”, and why is it everywhere right now?
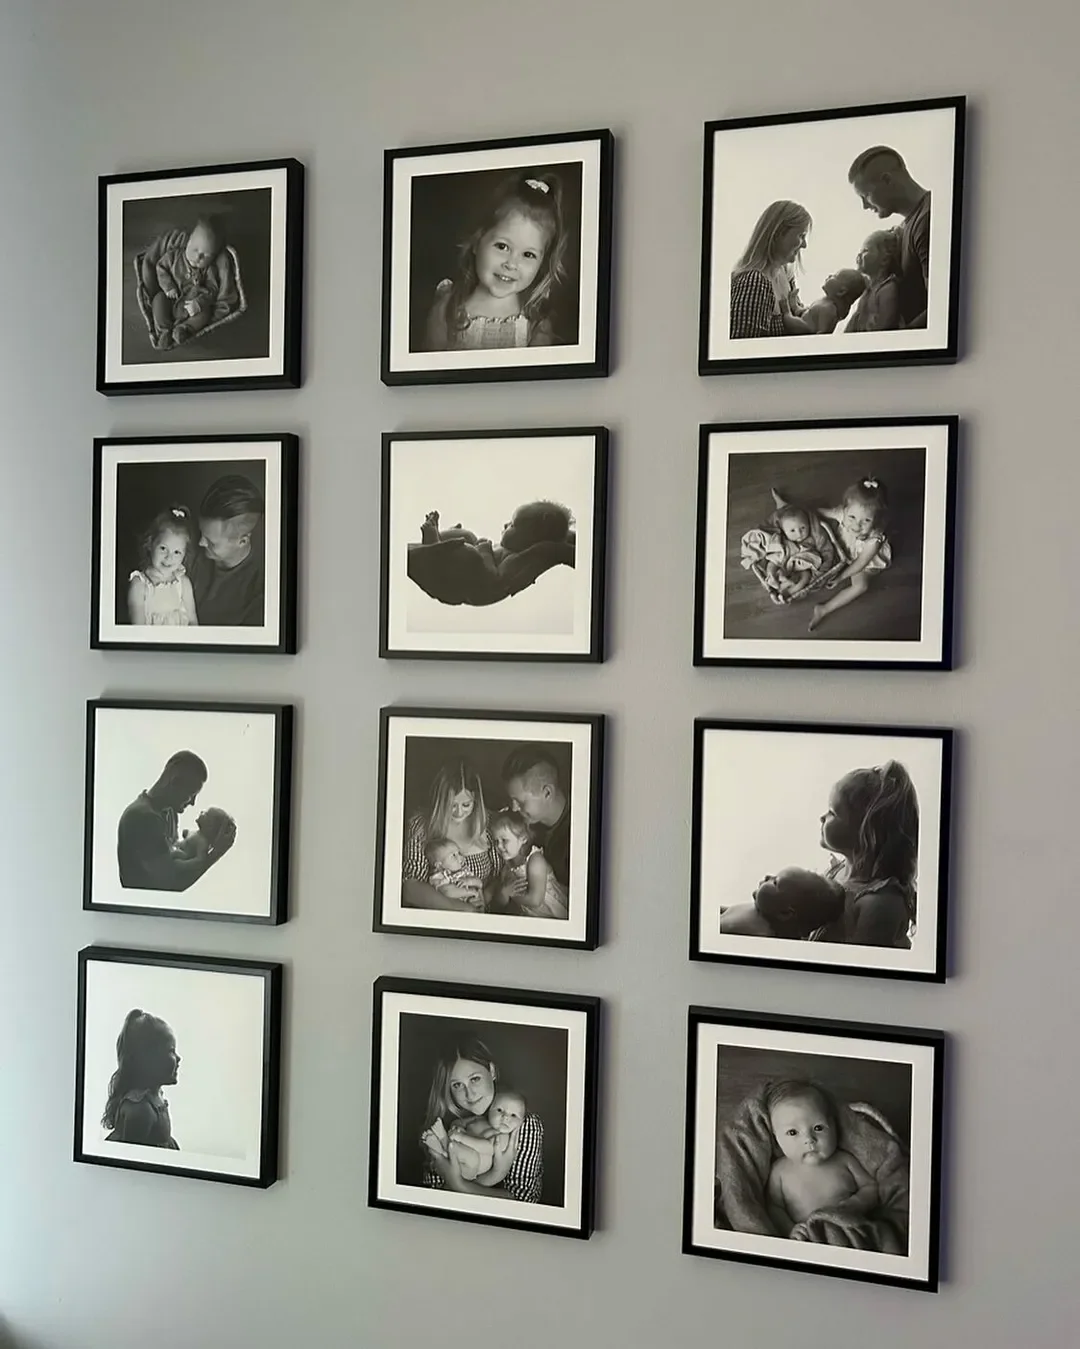
Wood wall art includes carved panels, geometric mosaics, round wooden discs, log slices, nature motifs, typography signs, and multi-panel wood wall decor. It is rising because natural materials add calm, biophilic warmth, and tactile depth that softens modern interiors. Popular formats include 3D mosaics, large statement panels, and nine-piece grids. Pairing these with photo tiles turns a single art piece into a full wall story that feels custom and easy to evolve.
Which wood wall art ideas fit your style best?
Start with your vibe, then choose a wood wall or wooden wall art piece that sets the tone. Add Mixtiles for personal color, people, and places, so your home decor reads as curated rather than matchy.
Rustic and reclaimed

Barnwood herringbone, pallet-inspired planks, and mixed-tone mosaics bring cozy texture. Try a reclaimed wood art piece centered above a console, then flank it with photos in warm-toned frames.
Modern and geometric

Chevron, herringbone, angular mosaics, and mid-century shapes feel crisp. Keep frames minimal, black, white, or natural, so the wood art leads and your wall art photography supports it.
Nature and outdoorsy

Mountain silhouettes, forests, topographic lines, or wildlife outlines add an adventurous mood. Blend with travel images or custom canvas prints of landscapes to expand the theme across the wall.
Boho and Southwestern

Think Aztec motifs, kilim patterns, sunbursts, and terracotta palettes. Mix in tan, cream, and clay tones, then add Mixtiles portraits for warmth and balance.
Coastal and light

Whitewashed wood, driftwood accents, rope details, or soft blue geometry create breezy calm. Pair with sea or sky photos for a cohesive, light wooden wall art moment.
How do you mix wood wall art with photos without visual clutter?
Use the wood art as your anchor, then repeat a few consistent tones across frames and photos. Keep spacing even, and let color come mainly from the images while wood provides texture.
Build a balanced gallery wall
Build a balanced photo gallery wall by alternating wood pieces and photo tiles in either a clean grid or a relaxed, measured asymmetry. Limit wood tones to one or two, then use photos for variety and story.
Choose frames that complement wood
Neutral frames keep the spotlight on the grain. Black, white, or natural works with most wood wall decor, so the full wall reads as one cohesive gallery.
Quick layout ideas
- One large wood panel with six to eight Mixtiles in a tight grid;
- Three small wood mosaics flanking nine Mixtiles for a balanced centerpiece;
- A round wood centerpiece surrounded by a ring of photo tiles for sculptural impact.
What layouts and sizes actually work on walls?
Over a sofa, a wide wood mosaic paired with two rows of Mixtiles fills space without feeling heavy. In an entry, a tall carved panel with a slim column of tiles adds height. In a bedroom, keep tones soft, then echo the wood with two small photo pairs at the sides. Use the quick table below to plan coverage with standard Mixtiles tiles.
|
Layout Example |
Rows × Columns |
Approx Width |
Approx Height |
|---|---|---|---|
|
Over-sofa gallery with wood anchor |
2 × 4 |
36.6 in, 93.0 cm |
17.8 in, 45.2 cm |
|
Entryway column beside a wood panel |
3 × 1 |
8.4 in, 21.3 cm |
27.2 in, 69.1 cm |
|
Large wall statement with wood centerpiece |
3 × 5 |
46.0 in, 116.8 cm |
27.2 in, 69.1 cm |
Notes: Measurements assume standard Mixtiles tiles of 8.4 inches and 1 inch gaps. Adjust spacing slightly to fit your wall and furniture scale.
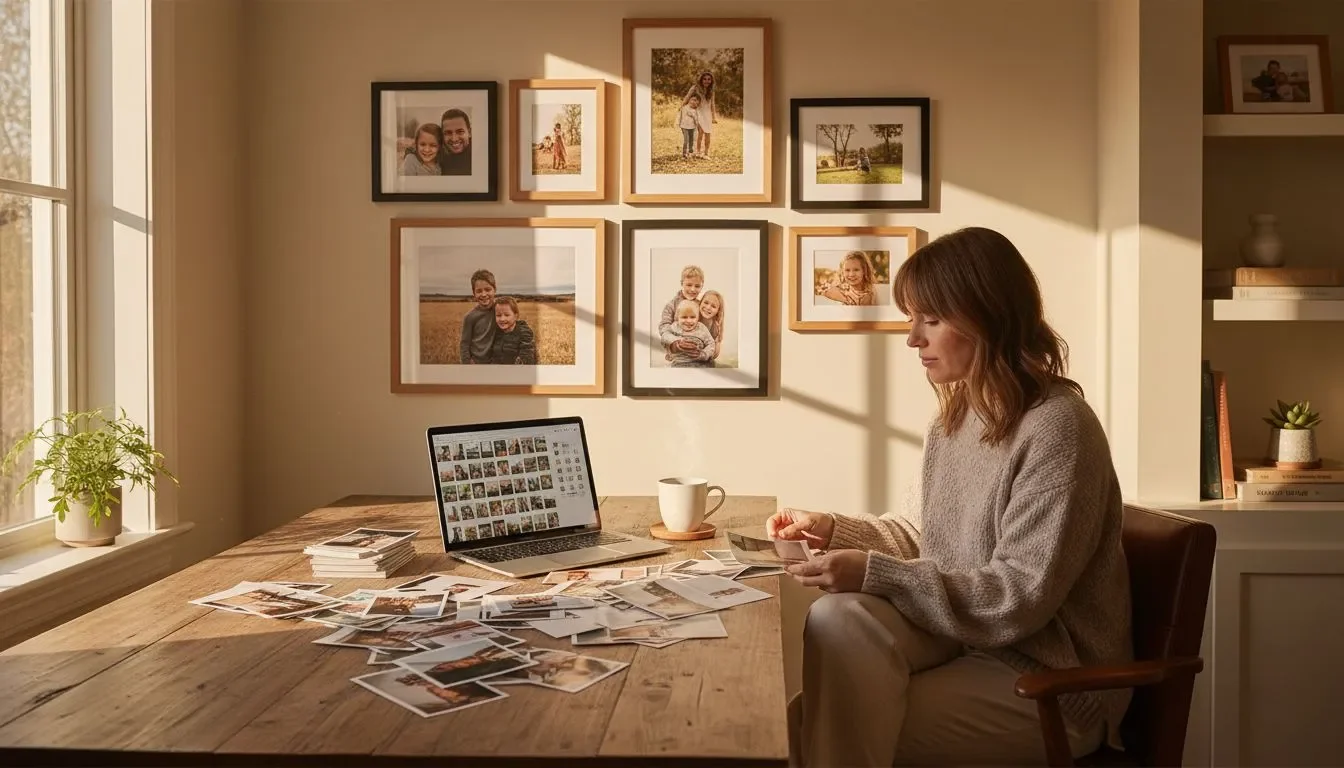
Test-drive your layout risk free. Browse our gallery walls for inspiration, then order your tiles and move them around until your wood-and-photo combo feels perfect. No nails, no damage.
Can you get the wood look even if you rent or hate heavy pieces?
Yes! Choose thin wood veneers, printed wood panels, or wood-look frames for less weight. Let a single wooden art piece be the anchor, then scale up with Mixtiles for story and color. Center the wood, surround it with adhesive photo tiles, and rearrange any time you update your decor. Renting or avoiding holes? Learn exactly how to hang wall art without nails, from adhesive options to weight limits, so your wood-and-photo gallery stays damage-free.
Want DIY wood wall art ideas that do not require a full workshop?
Simple materials can deliver texture and style for your wall art without power tools.
Low-tool DIY concepts
- Painted herringbone on plywood, stained stripe panels, or a round wood disc with a stenciled motif for a clean look;
- Palette ideas: keep it natural, walnut, terracotta, or muted coastal blues for easy pairing with photo tiles.
Finishing tips
Seal lightly to preserve texture and color. Avoid high gloss if you prefer a rustic, low-sheen finish that blends with most wood art pieces.
Where should wood wall art live in your home?
In the living room, place a large wood art piece over the sofa and frame it with travel photos. In a hallway, use a narrow vertical panel and a slim Mixtiles column for movement. For a nursery, choose soft shapes and light woods, then add family photos kids can rearrange. In a home office, try a geometric wooden wall panel behind the desk, then celebrate wins and milestones with Mixtiles nearby.
How do you care for wood wall art so it keeps looking great?
Dust with a microfiber cloth, avoid harsh cleaners, and protect darker stains from direct sunlight. Keep humidity consistent if possible. Use felt pads or adhesive-safe hangers for heavier wooden wall art.
From reclaimed mosaics to modern geometry, wood wall art brings warmth, texture, and depth to your space. The easiest way to personalize it is to blend your favorite wood wall art ideas with Mixtiles so your wall decor tells your story. With adhesive, removable frames, you can design, hang, and rearrange your gallery in minutes without nails or stress.
Ready to build your wood-and-photo gallery? Turn your favorite photos into beautiful personalized canvas prints to complement your wood decor. Start creating your perfect photo walls today. It is fast, renter friendly, and totally rearrangeable.
Frequently Asked Questions
How do I choose the right size of wood wall art for my space?
Use the two-thirds rule. Choose a piece about two-thirds the width of the furniture below it. Leave 6 to 8 inches above sofas or consoles. For tall walls, stack a grid or diptych. For small rooms, try a single medium piece or three coordinated minis.
What are renter-friendly ways to hang wood wall art?
Pick lightweight pieces made from thin plywood or veneer. Hang with high-strength removable strips rated for the artwork weight. Use picture ledges or shelves to lean art without holes. For heavier panels, distribute load with multiple adhesive points, or display on a floor-standing easel.
Which woods and finishes work best in kitchens or bathrooms?
Choose stable woods like teak, white oak, or acacia, then seal all sides. Use marine varnish or exterior polyurethane in satin for moisture resistance. Keep pieces away from direct steam and splashes. Ventilate the room, and recoat annually to prevent swelling, warping, or mildew.
How can I mix wood wall art with other decor without clutter?
Limit wood tones to one or two, then repeat them across frames and accessories. Keep a simple palette, and vary scale for interest. Align edges or centerlines for order. Add negative space between pieces, typically 2 to 3 inches, to prevent a busy, cluttered feel.

Be the first to know — deals, news & decor ideas.
By clicking you agree to the Terms of Use & Privacy Policy